
DIY: Easy Backyard Paver Project


Posted by Eric Skates on
The weather is getting warmer, and you might be itching to get some projects done around your yard. We have a fun DIY paver stone project that you can start right away! It is perfect for beginners, or people who want a big change in a short amount of time.
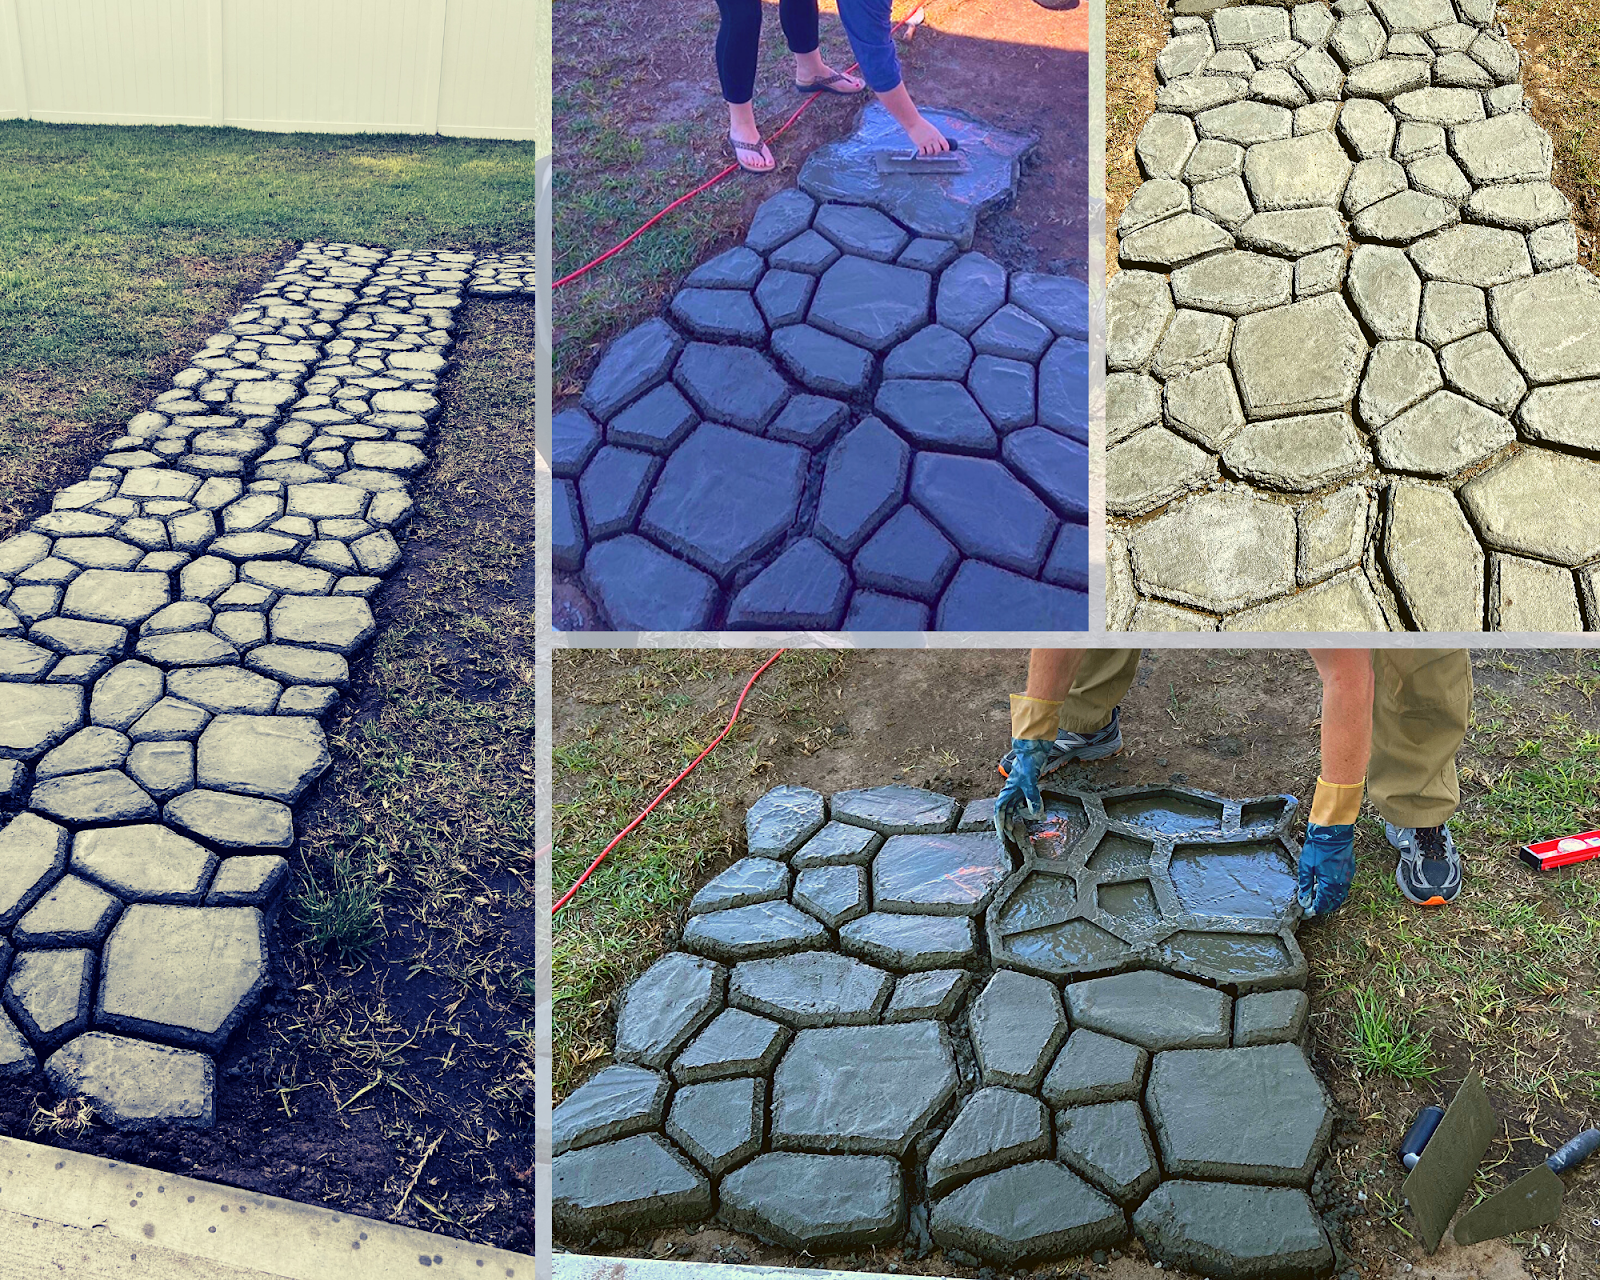
This project was done with a cobblestone pattern template to make a path from the homeowner’s gate to their patio: The template form can be bought at any home improvement store for less than $20.
Materials Needed:
- Plastic form template. (The homeowner had two side by side, but you can easily get the job done with one) Cost- $20 each
- Crack-resistant concrete, roughly one 80-lb bag fills 1 ½ forms. Cost- $4/bag ( x20 bags) $80
- Trowel $3
- 1 Gallon of water per bag of concrete
Total cost for this project- roughly $103
Optional materials- liquid cement color if you want to change the look of your concrete
Acrylic concrete sealer
Dirt tamper
Level
This is a very basic-prep project. These homeowners took on this project with a couple of days available and very little landscaping experience.
Step1- Level the ground by removing sod/soil/gravel and leveling the surface. This is probably the most labor intensive part depending on the size of the project. Start early. You can use a tamper and level to make sure you have a smooth, level surface for your project.
Step 2- Once you have leveled the area that you will be creating your path with, mix the crack-resistant concrete with the water and optional liquid cement color. Make sure to pay attention to the ratio of water to color so it remains uniform throughout the project.This homeowner chose to forgo the color because they were looking for a rough, aged look of natural concrete.
Step 3- Place the form on the ground and begin filling the cavities with concrete. Using a trowel, press the mix into the form starting from the corners.
Step 4- Immediately lift and remove the form. You do not need to wait for the concrete to settle. Smooth any rough edges with the trowel..
Step 5- You can place the form down again facing the same direction for a more uniform look, or turn the form one quarter of a turn to vary the pattern and make it look more random.
Step 6- The homeowner filled the form 20 times and once the sheen disappeared from the concrete, they sprayed it with water to help cure it. You can do this with a fine water mist for several days, or you can use acrylic cure-and-seal right away to protect the stones and give it a semi gloss texture.
This project was done over a total of 5-6 hours by two people going at a relaxed pace. It can easily be completed in a weekend by one person, or you can involve the whole family in this fun and easy project.
These concrete forms come in all kinds of styles from eclectic to classic to suit the look you want for your yard. You can easily modify the way you position the mold to make a straight, curved, or L- shaped path; and they make the job faster, easier, and less expensive than building a concrete walkway using one stone at a time.
Note: When the homeowner is done curing the stones for 3-5 days, they will add paving sand in between the stones and place gravel, solar lights, and shrubbery along the path to complete the project.
If you're thinking about bigger home improvement projects and need help finding finance solutions, contact us today at 877-255-3554 or visit us online by clicking here to explore your mortgage options.